




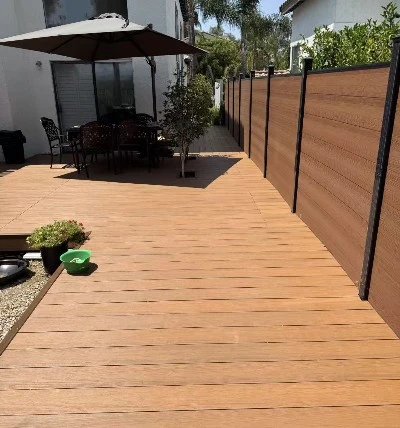


1. Pre-installation Preparation
1. Check the boards for any damage or color differences. Do not lay down any boards that are unqualified.
2. Place the floor in the room to be installed for 24-48 hours to adapt to the temperature and humidity.
3. Ground requirements: flat, dry, solid and clean. The height difference within 2 meters should be ≤ 2mm; it can be laid on cement floors, old tiles, or marble floors; carpets must be removed.
4. Install the noise-absorbing pads (EVA/IXPE), fix the seams with tape; the included backing pads do not require additional laying.
2. Tool List
Ruler, marker pen, utility knife, rubber hammer, striking block, extension wedge, pull hook, gloves
III. Installation Procedure
1. Place the expansion wedges beside the wall, leaving an 8-10mm expansion gap to prevent the wall from arching due to thermal expansion.
2. Start the first row from the upper left corner of the room, with the groove facing the wall. Connect the short edges in sequence; the last piece should be cut to finish.
3. Offset laying: Begin the second row with the leftover material from the previous cut. The short seams of adjacent rows should be offset by ≥20cm, not aligned in a straight line.
4. Long-side locking connection: The board is tilted, and the tongue piece is inserted into the groove of the already laid board, then pressed down to hear the "click" sound to lock; use a hammering block to gently tap, but do not directly hit the board surface.
5. Measure the width of the last row and cut it. Use a tension hook to tighten the locking mechanism; after the entire house is finished, remove all the expansion wedges.
IV. Finishing Touches
Install the skirting board to cover the expansion gap. The skirting board should not be nailed down to the floor; add transition strips at the doorways and passageways.
